
Most PiVPN guides stop at the install. That is the part that takes ten minutes and never comes back. The part that actually comes up again is everything after: a new laptop needs a profile, a phone gets stolen, someone leaves, you rebuild the box.
This is the day-two guide. If you have not installed it yet, start with PiVPN in 2026 and come back.
Everything below is what the PiVPN wiki documents. Where a command differs between WireGuard and OpenVPN mode, or where I am giving an opinion rather than quoting the docs, I say so.
The commands worth memorising
| Command | What it does |
|---|---|
pivpn add | Prompts for a client name and creates the profile |
pivpn list | Lists client names and their associated keys |
pivpn remove | Asks which client to remove, then invalidates its config |
pivpn -qr | Generates a QR code of a config, for scanning on a phone |
pivpn -bk | Backs the server up as a tar archive |
pivpn -d | Runs diagnostic checks, each of which should report [OK] |
pivpn -wg | Walks through upgrading WireGuard |
pivpn -h | Prints the full list of options |
That last one matters more than it looks. PiVPN changes, guides go stale, and the two modes do not expose an identical set of commands. pivpn -h on your own box beats any table on the internet, including this one.
Adding clients: one per device, always
pivpn add asks for a name and creates the profile. The mechanics are trivial. The decision that matters is how many profiles you create.
Give every device its own profile. Phone, laptop, tablet, the partner's laptop: separate names, separate profiles. It costs nothing at creation time and it is the only thing that makes revocation useful later.
The reason is simple. Revoking is per-profile. If four devices share one profile and one of them is stolen, your only option is to revoke that profile and cut off all four, then re-enrol the three you still have, probably in a hurry and probably badly. If each had its own, you revoke one and nothing else changes.
Name them for what they are. pixel-8, work-laptop, wifes-ipad. Six months from now, client1 through client5 in pivpn list will tell you nothing, and you will hesitate at exactly the moment you need to act fast.
Getting the config onto a phone
This is where people quietly undermine an otherwise good setup.
A client config contains a private key. Emailing it, putting it in a chat, or dropping it in a shared cloud folder hands that key to whatever holds those messages. The config is not a password you can rotate cheaply, it is the credential itself.
pivpn -qr exists for this. It renders the config as a QR code on the server, and the WireGuard mobile app scans it straight from the terminal window. The key never becomes a file that travels anywhere.
If you must move a config as a file, move it over SSH to the machine that needs it and delete the copy afterwards. Do not let it rest in your Downloads folder.
Revoking: what it does and what it does not
pivpn remove asks which client to remove. The wiki is explicit about the effect: once removed, the given client config will no longer let you connect.
Understand precisely what that buys you. It invalidates the credential on the server. It does not reach out and delete the config from the device you lost. Anyone holding that file still holds it, they simply cannot use it against your server any more.
That distinction matters for what you do next. Revoking the profile is the right first move and it is sufficient to protect the tunnel. It is not a reason to skip the rest: if the device also held other credentials, revoking a VPN profile does nothing about those.
Run pivpn list first. Removing the wrong profile because two devices had similar names is an easy mistake and an annoying one to undo.
PiVPN updates the config file and the running state together, which is exactly what it spares you. On a plain wg setup those are two separate things, and a peer removed from one but left in the other comes back at the next restart, see removing a WireGuard peer so that it stays removed.
Backups, and the mistake that makes them useless
pivpn -bk produces a tar archive. The wiki's instruction is to copy that archive to your computer, and the instruction is the important half.
A backup sitting on the server is not a backup. The failure it protects against, the SD card dying or the VPS being wiped, destroys the archive alongside everything else. Copy it off. scp it to your own machine or into whatever backup you already trust.
Then treat it as a secret. That archive contains client keys. Anyone who reads it can impersonate your devices. It does not belong in a public repository, a shared drive, or an unencrypted cloud folder.
When something is wrong, run the diagnostic first
pivpn -d runs a set of checks and the wiki tells you to verify that all of them report [OK]. Do this before you start editing config files by hand.
Self-hosted VPN problems are usually boring: a port not forwarded, a dynamic IP that moved, a firewall rule, a service that did not come back after a reboot. The diagnostic catches the boring cases in seconds. Hand-editing WireGuard configs at midnight because a connection dropped is how a working setup becomes a broken one.
If your public IP changes, that is not a PiVPN problem at all, and no amount of client management fixes it. See our guide on dynamic DNS for a self-hosted VPN for the shape of that fix.
When the terminal stops being the right tool
PiVPN manages peers from the command line, and for a handful of devices that is genuinely the fastest way to work.
If you find yourself adding and revoking profiles often, or handing that job to someone who will not touch a terminal, a web interface is the honest answer instead of more shell aliases. wg-easy covers that trade-off. And if you are still choosing your approach, our self-hosted VPN comparison puts PiVPN next to the mesh options.
A short operating routine
- One profile per device, named for the device.
- Deliver by QR code where you can, never by chat or email.
pivpn listbefore you revoke, so you cut the right one.pivpn -bkoff the box, stored like a secret.pivpn -dbefore you debug by hand.
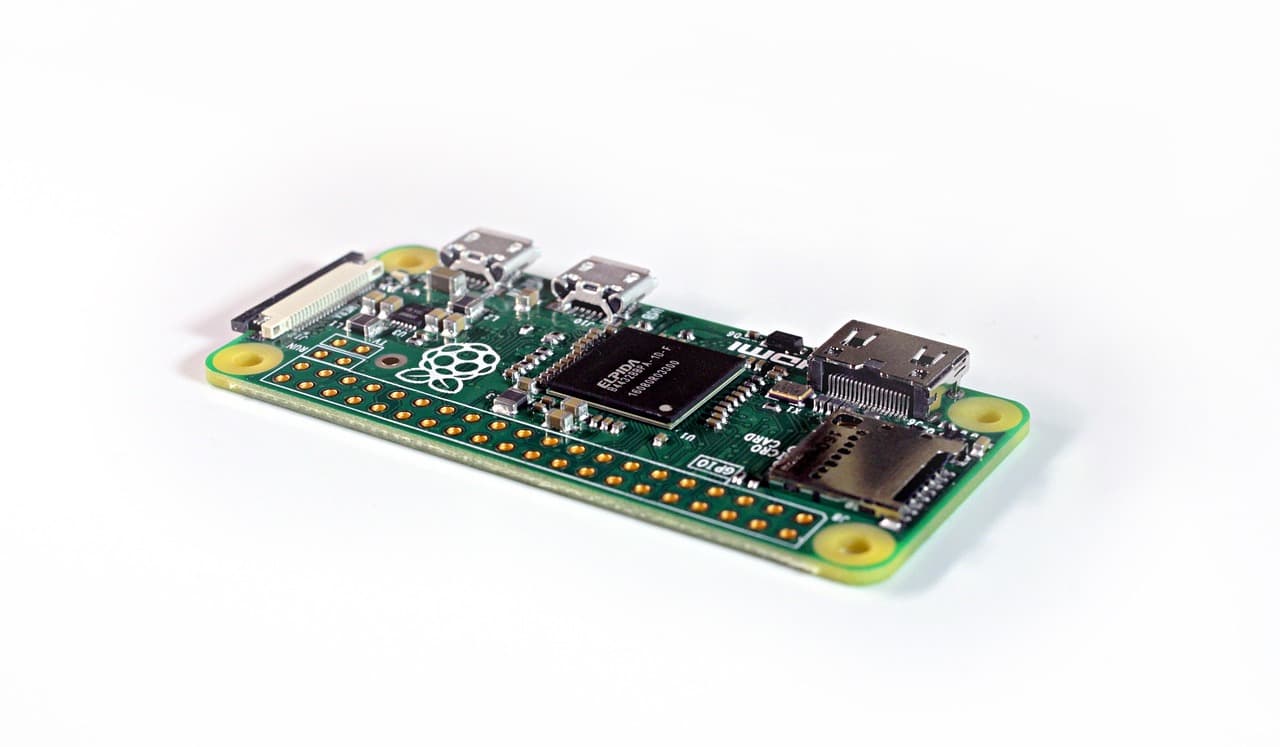
Where PiVPN runs matters as much as how you manage it. A Raspberry Pi at home is limited by your upload speed and needs a stable address; a VPS gives you a fixed public IP and always-on uptime for a few euros a month.
Run PiVPN on a Contabo Cloud VPS →
Sources
- PiVPN documentation (docs.pivpn.io), which directs users to the per-mode wikis for command examples
- PiVPN WireGuard wiki:
pivpn add,pivpn list,pivpn remove,pivpn -qr,pivpn -bk,pivpn -d,pivpn -wg,pivpn -h
Editorial guide based on the PiVPN project's documented commands. Command sets differ between WireGuard and OpenVPN mode and change over time, so pivpn -h on your own server is the authority, not this page. Commercial links carry the rel="sponsored nofollow" attribute; an affiliate commission may apply at no extra cost to you.
★ Nuremberg GDPR datacenter · ✓ Dedicated IPv4 included · 200+ Mbps guaranteed
Self-host your VPN on your own VPS → ContaboFull root access · public IPv4 · pick your region→

